
Cinnamon Swirl Bread
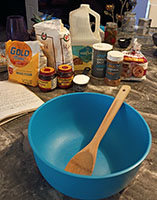
Everyone seems to like this bread and it is pretty easy to make. Start by gathering your ingredients. Bread flour, Active dry yeast, Sugar, Salt, Vegetable oil, Cinnamon, and Powdered sugar. ( I doubled the recipe and made four loaves. The original recipe makes 2 and can be found on the Ken Cooks page of my website.)
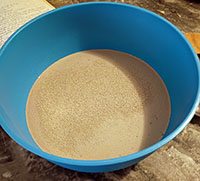
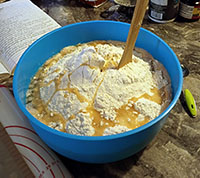
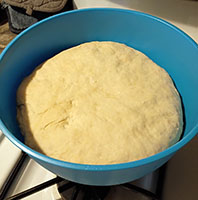
Start with 2 cups of warm water then sprinkle over the top with 1/4 cup sugar and 1 Tbsp.yeast. Allow about five minutes for the yeast to activate (become foamy looking). Add 5 cups bread flour, 2 teaspoons of salt, and 1/4 cup vegetable oil and mix well. (If your dough is too sticky you can add a little flour but I like to do this as I am kneading the dough adding a little at a time as I go.) After mixing your dough, you pour it out onto a floured surface and knead it well for about 5 minutes. Your dough should be soft and workable. Clean and dry your mixing bowl, coat it lightly with vegetable or canola oil and place your dough in face down. Flip it over, cover lightly with plastic wrap and place in a warm place to rise for about an hour until it doubles in size.
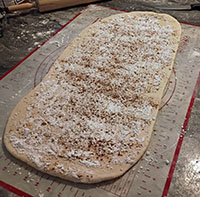
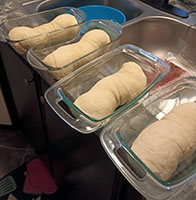
Once it has risen, punch down the dough to release any trapped air and the divide it into two equal balls of dough. On your floured surface, roll the ball out to approximately 9X15 inches (assuming that you are using a 9 inch bread baking dish), sprinkle generously with powdered sugar and cinnamon and the roll tightly from the long end, pinch the bottom and the ends closed tight, and place into a lightly greased 9 inch dish. Repeat with the second ball. Place both dishes back into your warm place and allow to rise a second time for about 30 to 40 minutes until doubled in size.
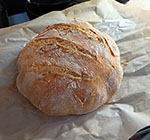
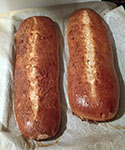
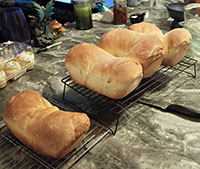
Once the loaves have risen the second time, place them into the oven at 350 degrees for about 30 minutes or until the tops are golden brown and sound hollow when you thump them.
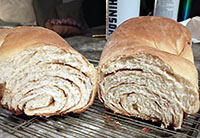
Enjoy your Cinnamon Swirl Bread toasted with butter. Delicious!